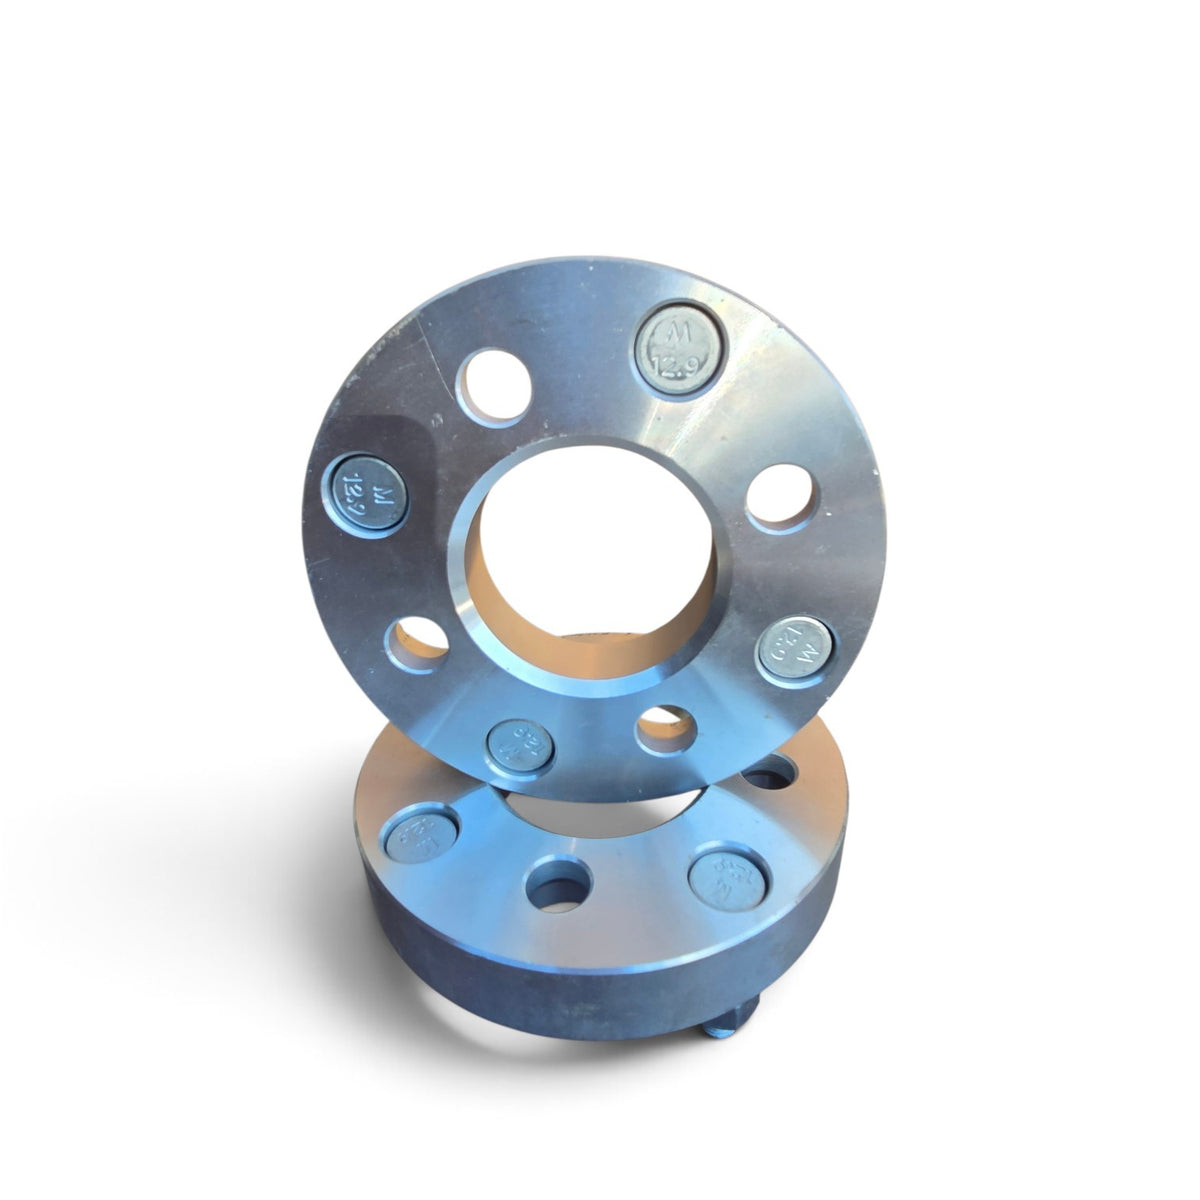
ATV Wheel Centric Spacer (4x137/4x137) (Pair) (4)
ATV Wheel Centric Spacer (4x137/4x137) (Pair) (4)
SKU:4137/4137
These 4x137mm wheel spacers are designed for ATVs with a factory 4x137mm bolt pattern. Since both the hub and wheel use the same 4x137mm pattern, the spacer does not convert the bolt pattern—it simply moves the wheel farther outward from the hub.
Made from CNC-machined billet aluminum, these spacers are built for accurate fitment and dependable performance. New wheel studs are included with each pair.
Choose between 1.5-inch or 2-inch thicknesses depending on the wheel position and clearance you need.
Sold as a pair — 2 pieces.
Specifications
| Specification | Details |
|---|---|
| Hub Bolt Pattern | 4x137mm |
| Wheel Bolt Pattern | 4x137mm |
| Center Bore | 101.6mm |
| Stud Thread | 10x1.25 |
| Thickness Options | 1.5" / 2" |
| Material | CNC-Machined Billet Aluminum |
| Includes | New Wheel Studs |
| Quantity | 2 Spacers |
| Sold As | Pair |
Product Details
These spacers are a simple way to change the position of your 4x137mm wheels without changing the wheel's bolt pattern.
The spacer mounts between the factory ATV hub and wheel, adding either 1.5 or 2 inches of additional spacing. This can be useful when additional room is needed between the wheel and components such as the brakes, suspension, or other areas of the ATV.
Because the bolt pattern remains 4x137mm, these spacers are intended for wheels that already use the 4x137mm pattern.
Check your ATV and wheel measurements before ordering to make sure the spacer thickness and center bore are suitable for your setup.
Installation Guide
- Remove the wheel from the ATV and clean the hub surface thoroughly. The mounting surface should be clean and free of rust, dirt, grease, and debris.
- Position the spacer on the factory hub and make sure it sits completely flat against the hub.
- Install the supplied hardware and hand-tighten the nuts.
- Tighten the nuts gradually in a star/crisscross pattern to ensure the spacer seats evenly.
- Torque the spacer hardware to the appropriate manufacturer-recommended specification.
- Install the 4x137mm wheel onto the new studs supplied with the spacer.
- Hand-tighten the wheel nuts, then tighten them in a star/crisscross pattern.
- Torque the wheel nuts to the recommended specification for your wheel and ATV.
- Before riding, turn the wheel by hand and check for adequate clearance around the brakes, suspension, steering, fenders, and other components.
Important Stud Clearance Warning
Before tightening the wheels, check the original factory hub studs for clearance.
On some ATV setups, the original studs may extend through the spacer far enough to contact the back of the wheel. If this happens, the wheel will not sit completely flat against the spacer.
Do not force the wheel into place. If the factory studs touch the back of the wheel, they may need to be shortened to provide sufficient clearance.
The wheel must sit completely flush against the spacer before the wheel nuts are tightened.
Final Fitment Check
Before operating the ATV, confirm that:
- The spacer is fully seated against the hub.
- The wheel is fully seated against the spacer.
- The factory studs are not contacting the wheel.
- The wheel nuts have sufficient thread engagement.
- The wheel spins freely without rubbing.
- There is adequate clearance at full steering and suspension movement.
- All hardware has been properly torqued.
If you are not comfortable checking stud clearance or installing the spacers yourself, have them installed by a qualified ATV or wheel professional.
Product features
Product features
Product Features
Specification Details
Bolt Pattern: 4x4 (4x101.6mm)
Material: 6061-T6 Billet Aluminum
Construction: CNC-Machined
Fitment: Vehicle-Specific
Thickness Options: Select Available Size
Hardware: Included as Specified
Sold As: a Pair (2 Pieces) Set (4 pieces)
Installation tips
Installation tips
Installation Tips
Step Recommendation
1. Verify Fitment: Confirm bolt pattern, center bore, and stud thread.
2. Clean Surfaces: Remove dirt, rust, and debris from mounting surfaces.
3. Test Fit: Ensure the spacer sits flush against the hub.
4. Secure Hardware: Use the correct hardware and manufacturer-specified torque.
5. Check Clearance: Verify wheel, brake, and suspension clearance
6. Final Inspection: Recheck fastener torque as directed by the manufacturer.
Share